
Case study: The 'Nutclough' commemorative board for Calrec Audio

Earlier this year, Kevin from Calrec Audio contacted me about a board. (Thanks to the always thoughtful Andrew Back for making the connection!) Calrec is a leading maker of broadcasting audio equipment and this year they're celebrating "50 years in audio"!
Last year Calrec created a simple audio amplifier board kit. This year, being a significant one, they wanted it a bit more special. They came to the right place ;)

Last year's board (not designed by me!). A pretty standard, square, single-layer PCB. I was really happy that Calrec approached me to design something "different" this year.
Calrec provided the schematics and choice of components, and I started researching and drafting concepts for the board. It was important for us to have references to Calrec, of course, but also to the 50-year celebration. Two elements of the circuit needed particular attention: the bulky 9V battery and the large speaker. Cost was a primary consideration, so that meant that the board needed to be kept about the same dimension as the previous one.

One of my first concept drawings. At this stage already I decided to go with an audio desk profile as a reference to Calrec's products. I was playing with having two pieces, one for the circuit (bottom right) and another for mounting the speaker. The hole is for the the speaker's back to sit in; the surrounding holes is for mounting the speaker/board to other things.

This one is similar to the previous sketch except that I wanted to make use of all the space, so the idea of a detachable token germinated, which will carry through to the final design.

The token idea is further refined. Here, the speaker could be attached to the corner of the board, and another piece is detached leaving the desk profile. This concept has more space for the circuit itself so it was more practical.

The idea of the board standing up instead of lying down came up and this is the first attempt. The concept was that the speaker would be mounted perpendicular to the board to support it (in the square recess on the right). Actually, this one shows both the possibility of the board lying down and standing up. Initial thoughts about UI are shown as LEDs that are connected on the side of the board with each lead on either side of the board. This concept did not survive to the final design ;)
At this point I started making cardboard mock-ups. These are great for getting a feel for size and potential component placement or UI issues. It was also a great way to show Kevin the concepts visually to get his feedback.

The "lying down" concept with the space for the speaker, LEDs and UI. The old board is there for size reference.

Here it is with the speaker in its place.
After feedback from Kevin, I assembled the following mock-up, the first 'standing' concept -- it was now clear that we're going to do that.

The cut-out on the right will be used to allow the board to stand even when the speaker isn't mounted. At this point we were still thinking that users may want the speaker to be mounted elsewhere, not necessarily on the board.

Standing!

Speaker and UI components mounted. It was clear that the speaker needed better mounting to hold it in place more firmly. Also, the sides of the speaker are not straight, so it doesn’t provide great support.

Thinking of how to deal with the battery, I attempted to use it for support, but it was ugly when I tried it. Quickly scrapped.
In another round of feedback we decided that the speaker needs to be mounted, and the best place for it is in the back of the board, firmly attached and providing support for the boards. Also, I decided to be more explicit with the reference to sk, and so used the exact proportional scaled dimensions Calrec's flagship desk, the Apollo.
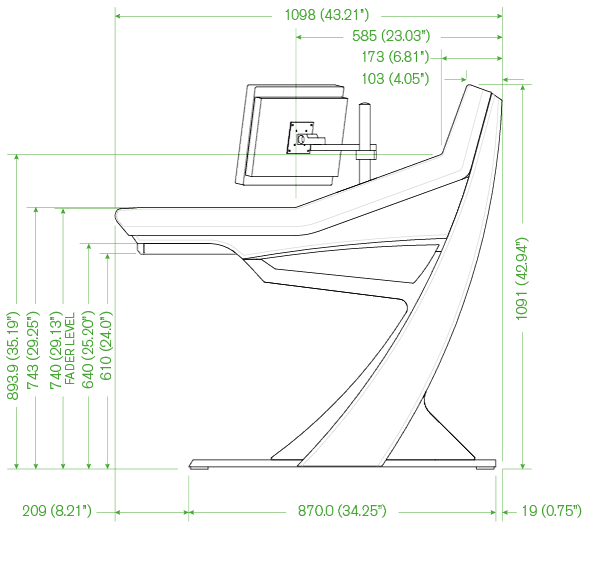
I used the exact proportional dimensions as the Apollo desk.

The speaker is now mounted on the back and the board sits comfortably upright. The Apollo profile looks great, except that it adds about a third to the board's size. This space is not efficiently used, and adds cost to the board.

The situation with the battery was getting worrisome. I couldn't find a place for it such that it is out of view, but still attached to the board so it doesn't hang.
I had an idea that could provide a nice place to put the battery and reduce the size of the board so it's cheaper.

I shrunk the Apollo profile and raised it so that there's an area behind which the battery could be hidden from view. This also gave me space to put Calrec's logo and their "50 years in audio" logo. By this point the layout was ready, so I used a printout so get more visual feedback on the mock-up.

The battery is held by a metal clip so it doesn't hang. This also provides support for the board. Most importantly, it doesn't show from the front, as you face the board.
This worked! Kevin signed off on the design, and it was lovingly made by P&M Services over at Todmorden, West Yorkshire.

Front and back of the board.
As I mentioned before, the board has a token that can optionally be broken off and used on a keyring, for example. The mill in which Calrec offices are is quite a landmark and is very much part of the company's identity. I wanted to have it featured on the board in order to tie the board to the company even further. In my mind's eye I imagined Calrec employees in another 50 years showing this token to young engineers and saying "I was there" :D

The token can be easily broken off the board and attached to a keyring or anything else ;)

The token is constructed from various combinations of front and back copper, and soldermask. This allows for different effects when light is shown through the token, changing its appearance.

The windows, doors, and other features don't have copper so light can go through.

In full effect! The vertical lines in the Calrec logo now come into view. It's a nice result for something that otherwise would have been scrap material!

After some assembly, here it is!

Assembled board, front view.

Side view. The speaker holds the board upright.

The view from the back. The battery is held firmly by a metal clip.
This was an incredibly fun project and embodies what Boldport is about -- beautifully functional circuits. I hope to have the opportunity to work on many more such projects so if you have a need please get in touch! As a reference, the project was billed at 2.5 days of work and Kevin of Calrec had this to say
“Calrec Audio wanted something unique to commemorate the company’s 50th anniversary, and as Calrec started with a group of electronic hobbyists designing home amplifiers, it seemed appropriate to commission a small open-source amplifier circuit.
Boldport turned that circuit into a beautiful, eye-catching, self-supporting board which we have since used as a DIY giveaway to customers, and in several electronics workshops for children. It even has a snap-out key ring! They were very patient with our somewhat idiosyncratic ways of working and were incredibly collaborative, taking that initial concept and transforming it into a piece of art.
Boldport have a first-rate ethos, with an emphasis on open-source designs and promoting electronics for all. Moreover, they make it fun. We would have no hesitation in recommending them.”